10 Bold Orange Baddie Nail Designs for Summer
Summer is the perfect time to experiment with bold and vibrant nail designs. If you want to make a statement, orange is the go-to color for a fierce and trendy look. Here are ten bold orange baddie nail designs that will elevate your summer style.
1. Negative Space Orange Flames
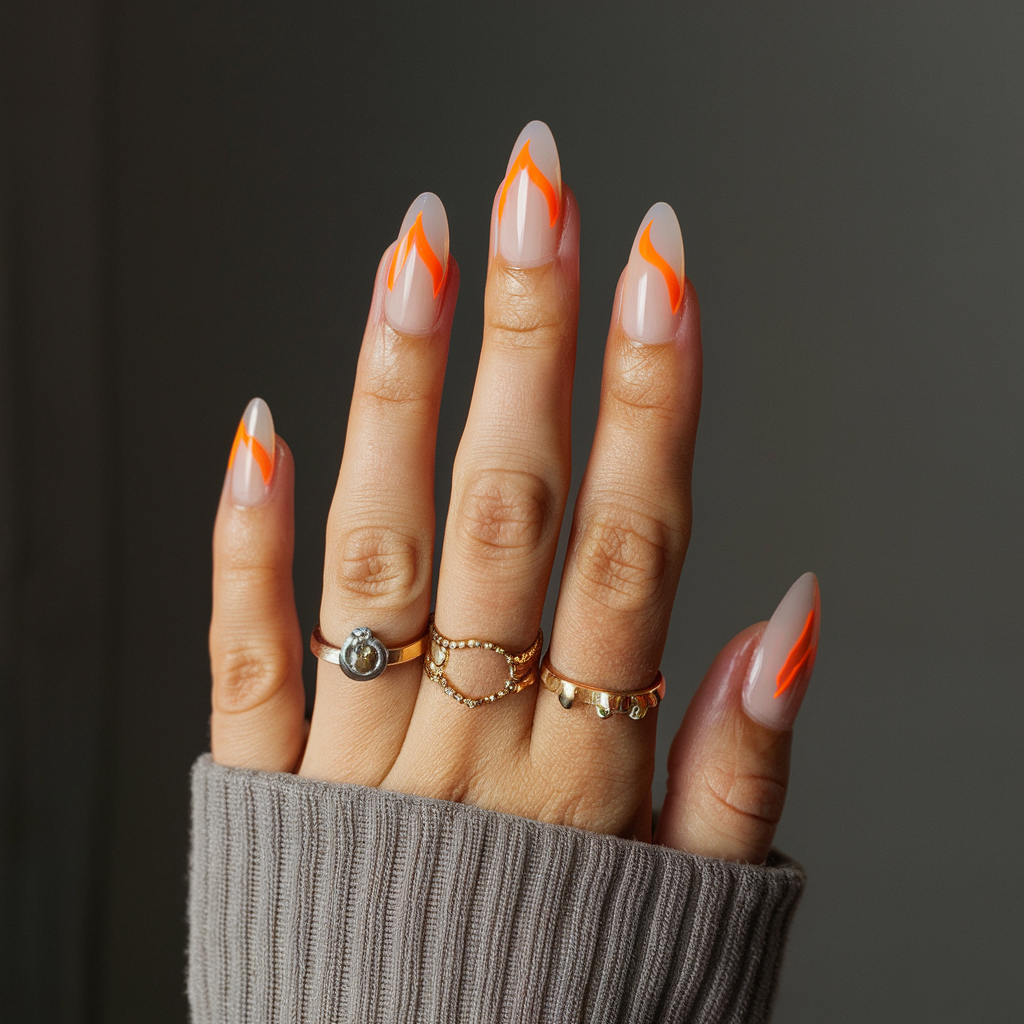
This design features striking orange flames against a clear or nude base, creating a bold contrast with negative space.
How to Achieve It: Start with a clear or nude base coat. Use a fine brush to paint fiery orange flames on each nail, leaving some areas bare to create a negative space effect. Finish with a glossy top coat to seal the design.
2. Orange and Pink Marble
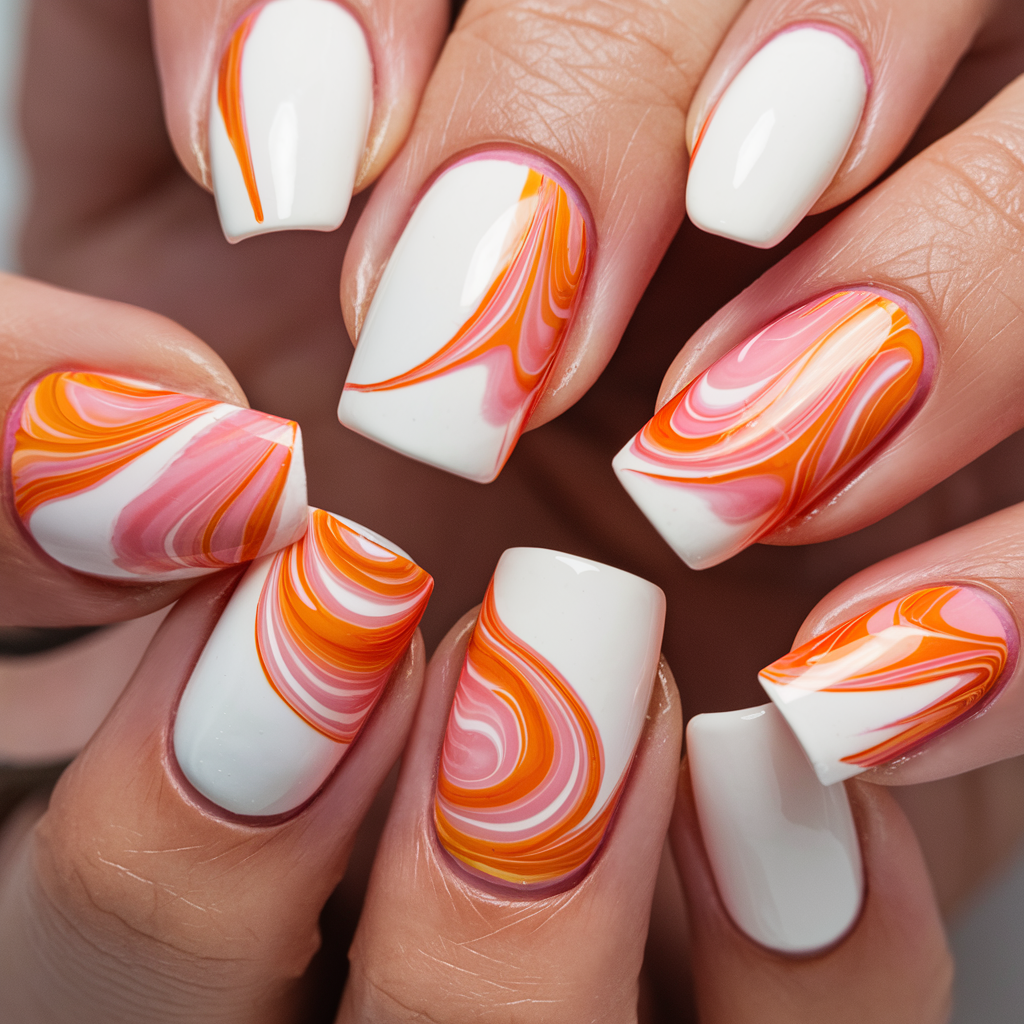
A mesmerizing blend of orange and pink, this marble design is both bold and elegant, perfect for summer vibes.
How to Achieve It: Apply a white base coat. Use a water marble technique to swirl orange and pink polishes together, then dip your nails into the mixture. Clean up the edges and finish with a glossy top coat.
3. Chunky Orange Glitter
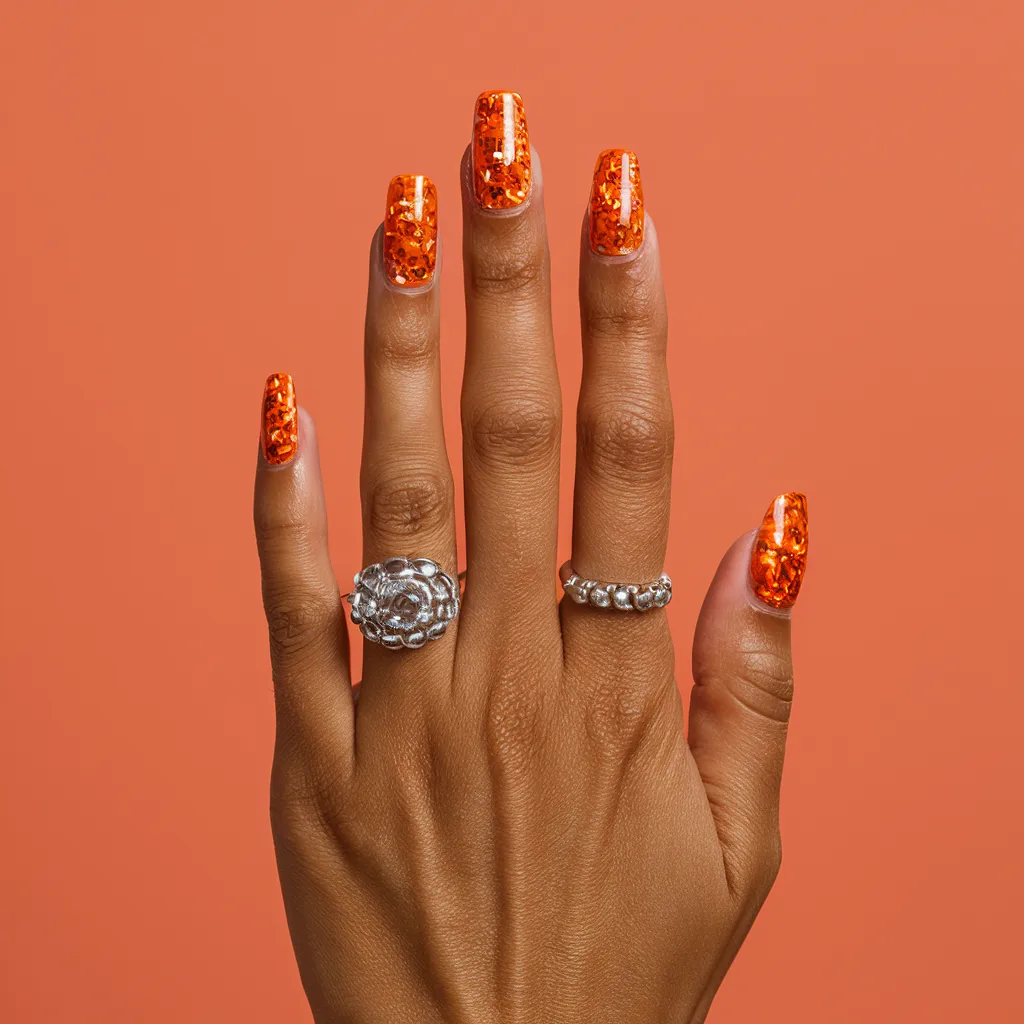
For a glamorous look, chunky orange glitter nails provide a dazzling sparkle that catches the light beautifully.
How to Achieve It: Apply an orange base coat. While still wet, sprinkle chunky orange glitter over each nail. Press the glitter gently into place and finish with a clear top coat to ensure a smooth finish.
4. Orange Ombre with Neon Accents
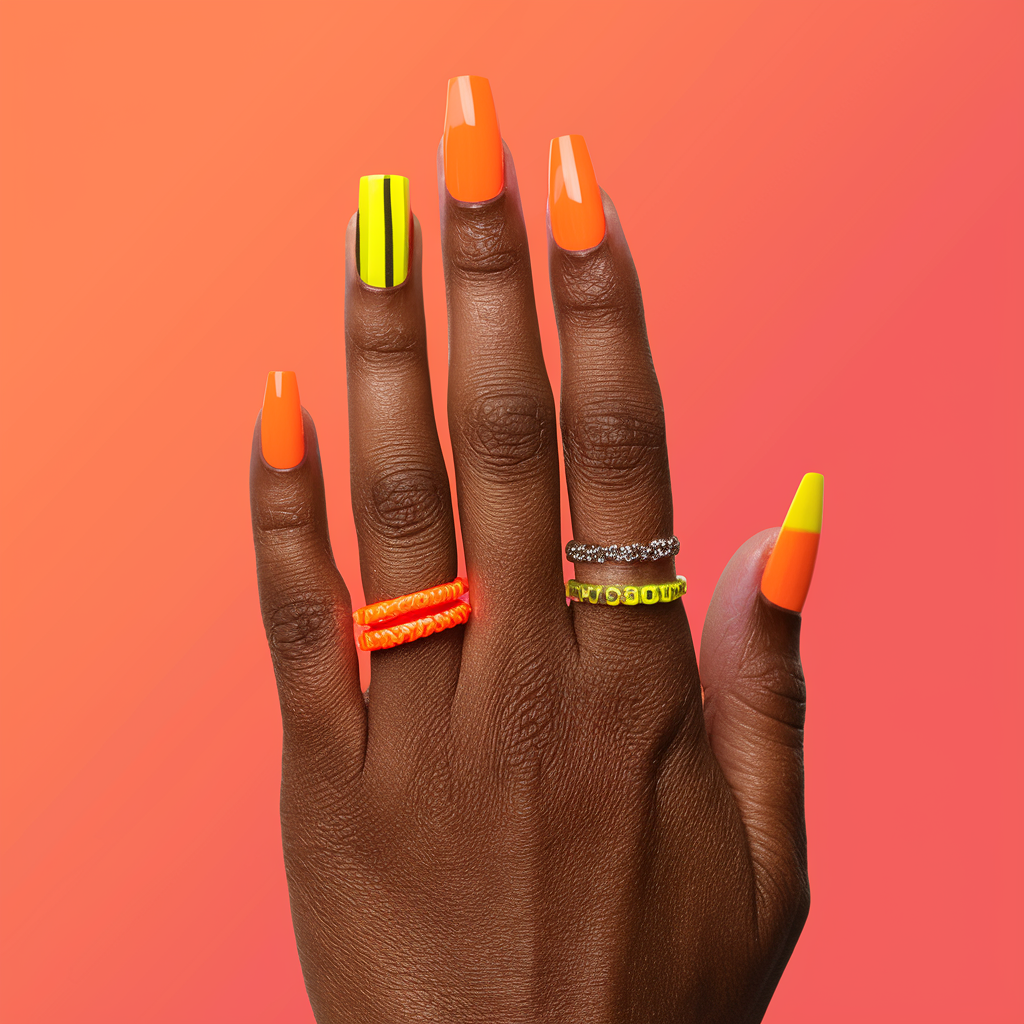
This design transitions from a soft orange to a vibrant neon orange, with added neon accents for an extra pop.
How to Achieve It: Create an ombre effect by blending a soft orange into neon orange using a makeup sponge. Add neon accents like stripes or dots with a fine brush. Finish with a glossy top coat to blend the colors smoothly.
5. Fruity Orange Punch
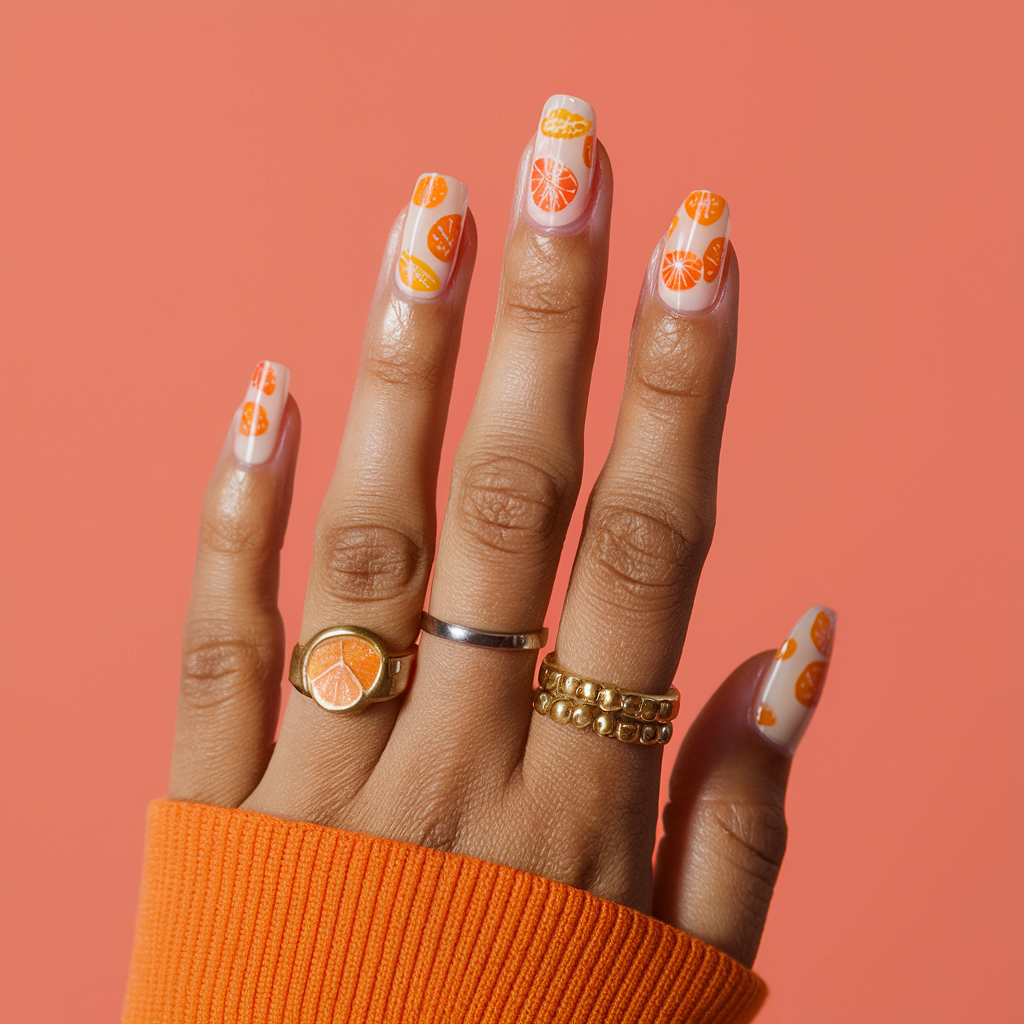
Inspired by tropical fruits, this design features orange slices and other fruity elements for a fun and vibrant look.
How to Achieve It: Apply a light orange base coat. Use a fine brush or nail stickers to create detailed orange slices and other fruit designs like lemons and limes. Finish with a glossy top coat to enhance the fruity details.
6. Orange and Teal Colorblock
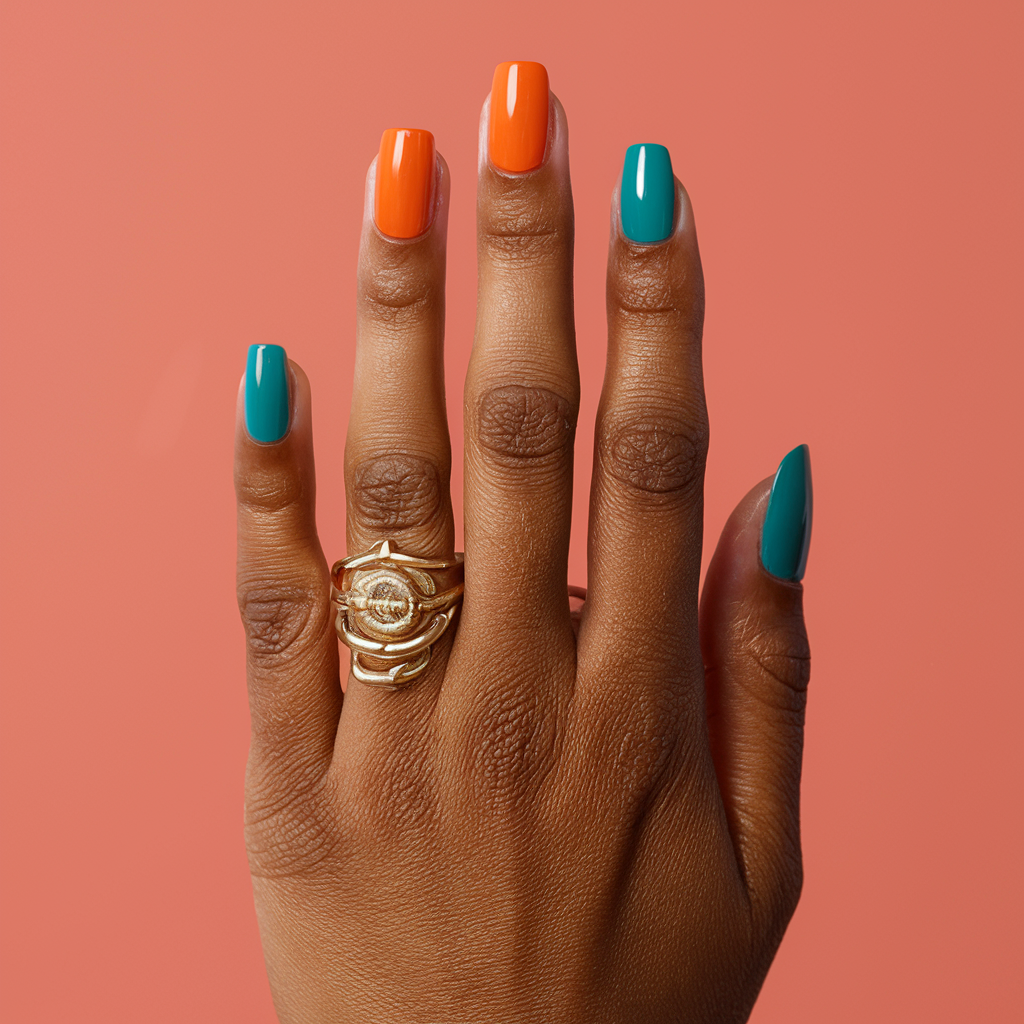
The striking combination of orange and teal in a colorblock pattern makes for a bold and modern design.
How to Achieve It: Apply a base color of either orange or teal. Use nail tape to create clean lines and fill in the sections with the contrasting color. Remove the tape carefully and finish with a glossy top coat for a crisp look.
7. Orange and Gold Foil
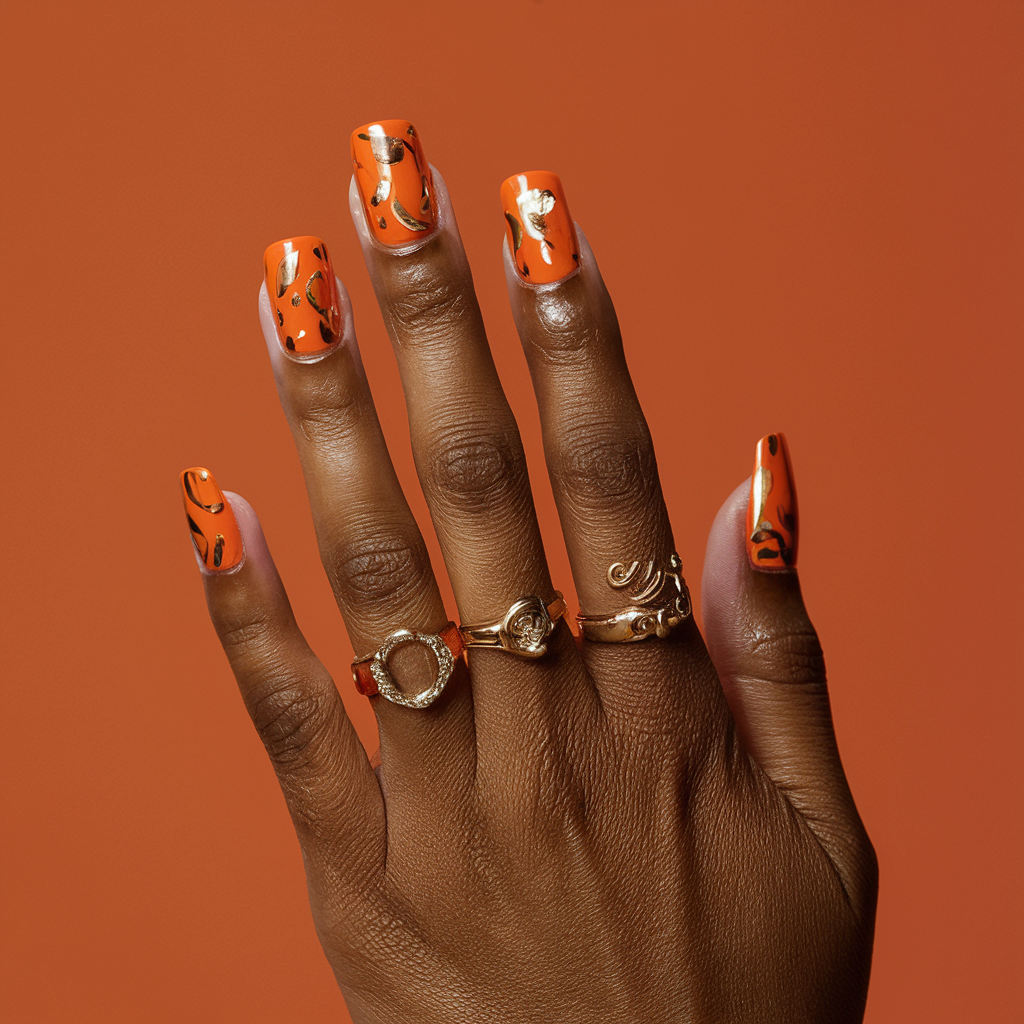
This luxurious design pairs bold orange nails with shimmering gold foil for a rich and glamorous effect.
How to Achieve It: Apply an orange base coat. Once dry, apply gold foil in random patterns using nail foil glue. Press the foil gently onto the nails and finish with a glossy top coat to secure the foil.
8. Abstract Orange Lines
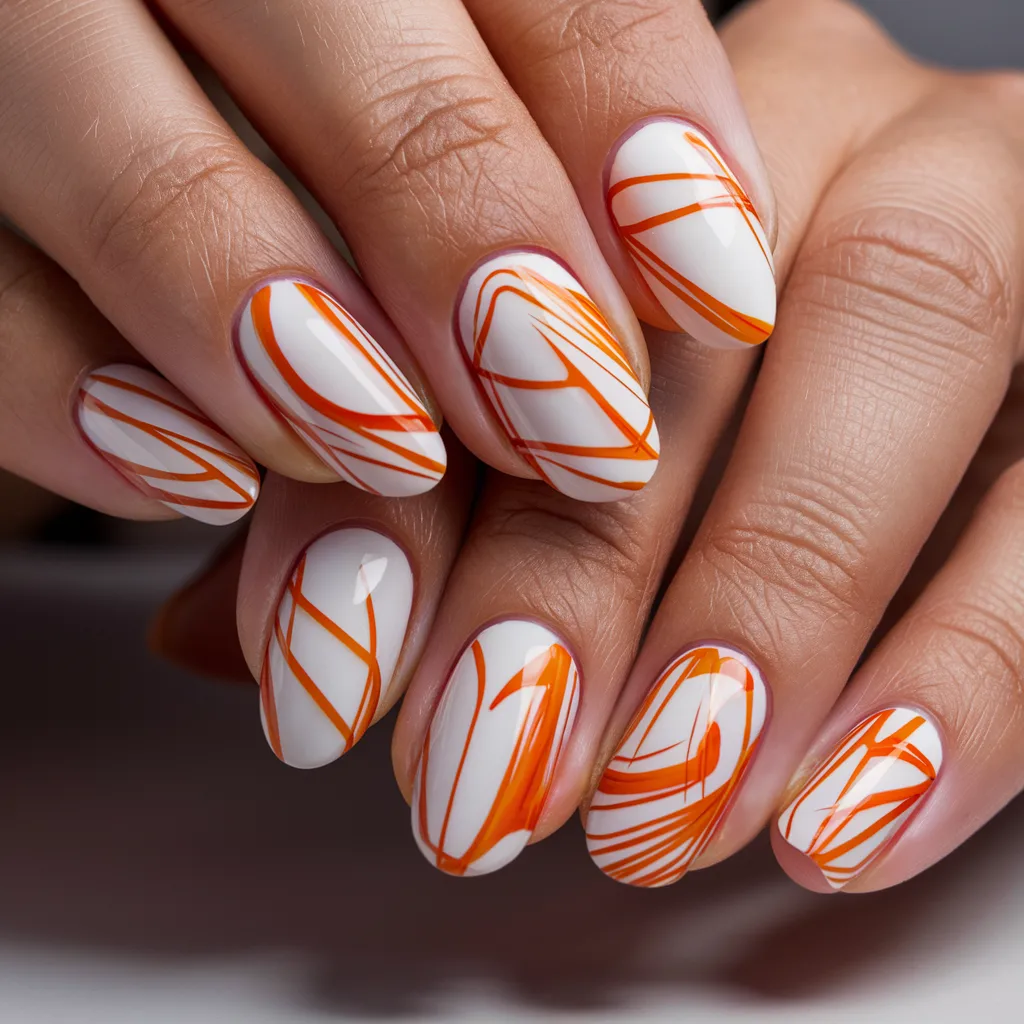
Featuring abstract lines and shapes, this modern design is perfect for those who love unique and artistic nail art.
How to Achieve It: Start with a white or nude base coat. Use a fine brush to paint abstract orange lines and shapes across the nails. Add different shades of orange for depth and finish with a glossy top coat.
9. Orange Cow Print
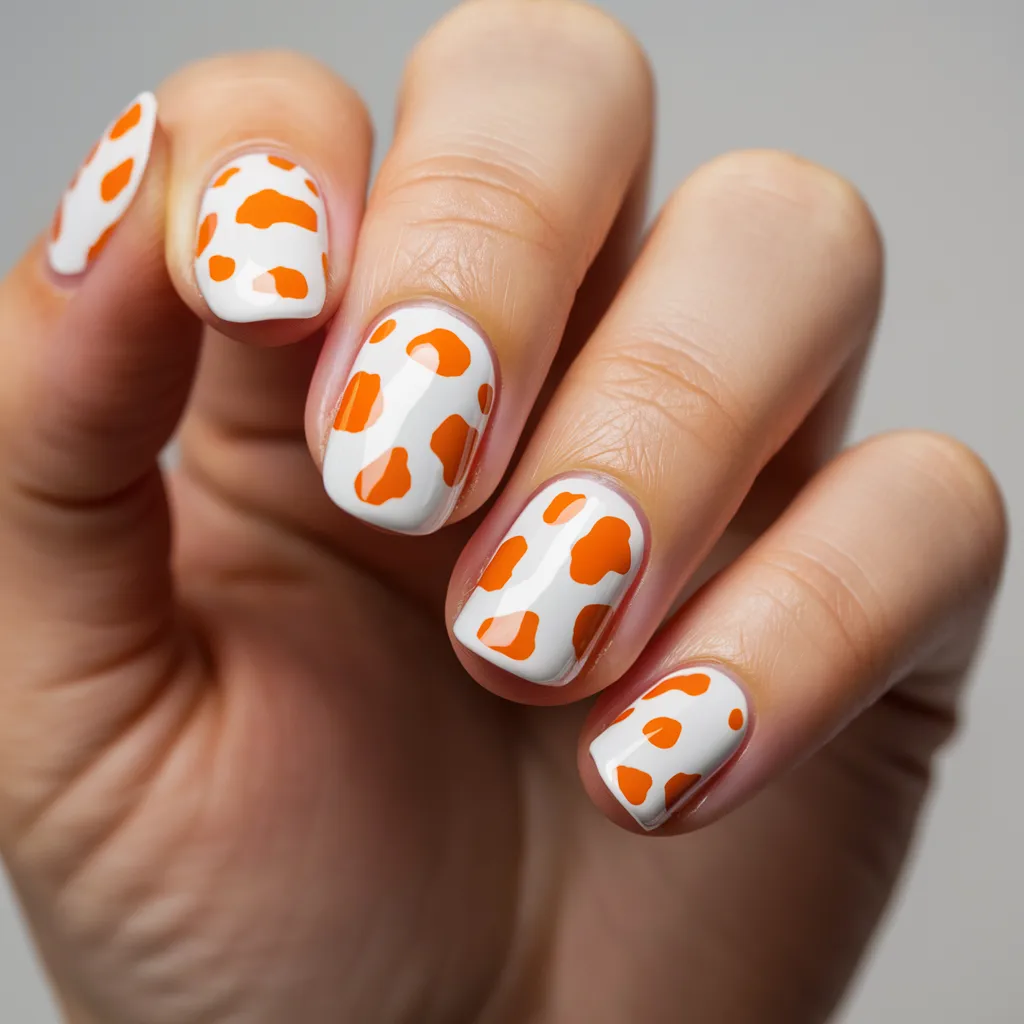
A playful twist on the classic cow print, this design uses orange and white for a fun and bold look.
How to Achieve It: Apply a white base coat. Use a dotting tool or fine brush to create irregular orange spots resembling cow print. Finish with a glossy top coat to enhance the design.
10. Orange French Tip with Rhinestones
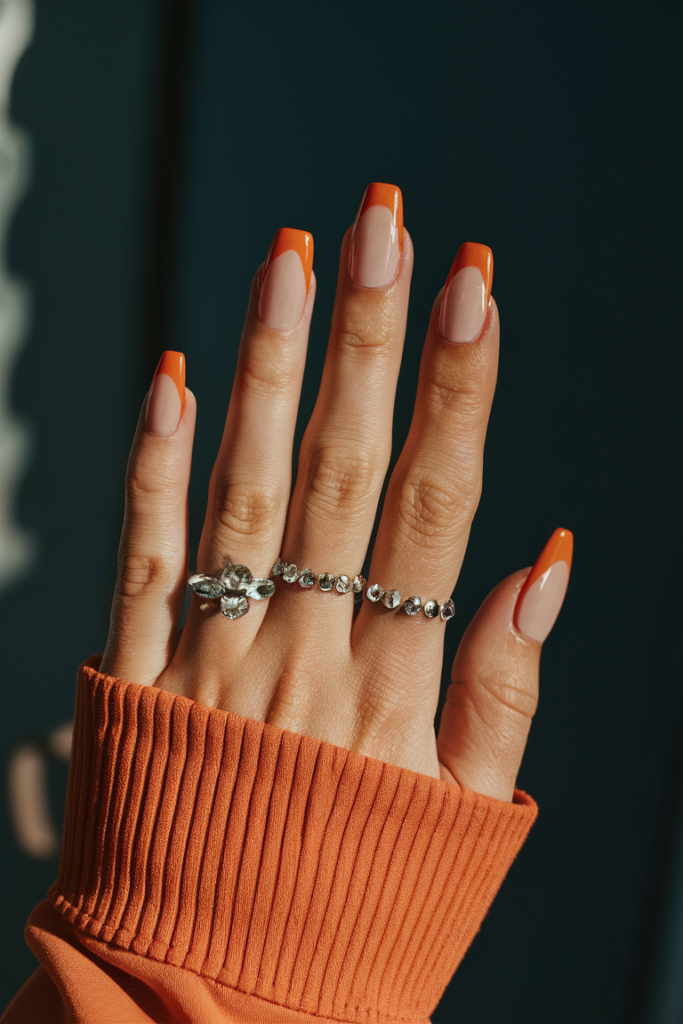
Combining the classic French tip with a bold orange twist and rhinestone accents, this design is both elegant and eye-catching.
How to Achieve It: Apply a nude base coat. Paint bold orange tips using nail tape for clean lines. Add rhinestones along the smile line for extra sparkle and finish with a glossy top coat to secure the rhinestones.

