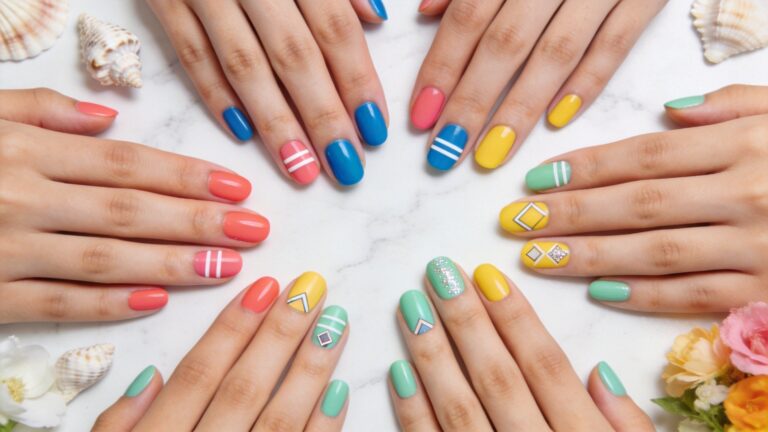
10 Summer Floral Nail Designs for Acrylic Nails
Summer and floral nails were made for each other, and acrylic nails give you the canvas to actually do them justice.
In this list, you’ll find 10 designs worth trying — from a bold sunflower accent nail to a soft pastel watercolor rose look that feels straight out of a garden.
Some are simple enough for a salon shorthand, others take a little more detail, like the tropical hibiscus ombre gradient or the delicate daisy French tip.
Scroll through and pick what fits your summer plans.
1. Tropical Hibiscus Ombre Gradient Nails
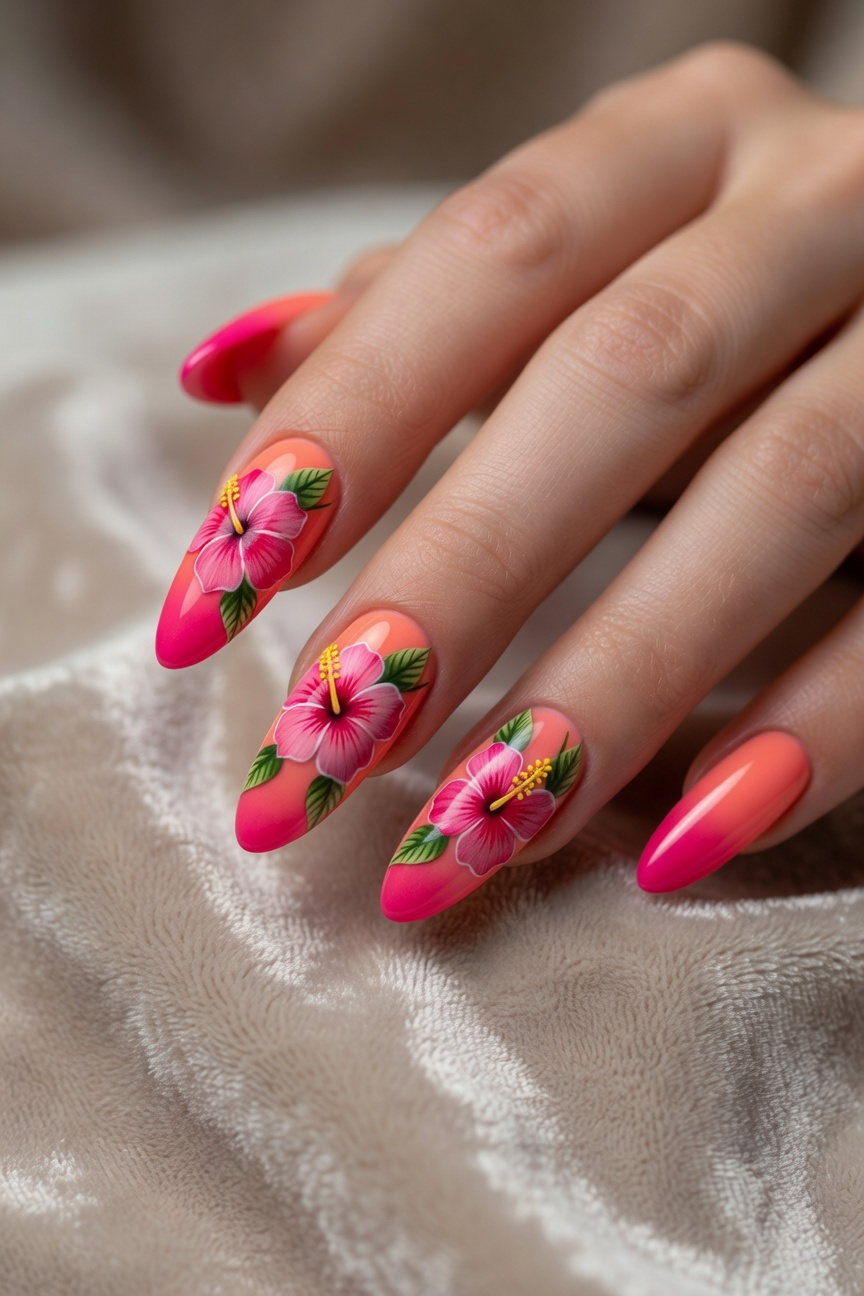


Hibiscus flowers and ombre gradients were basically made for each other, especially on acrylics where you have a longer canvas to let the color transition breathe.
Start with a coral-to-magenta gradient as your base, sponging the colors together at the midpoint of the nail before the acrylic fully cures.
Paint the hibiscus in a deep fuchsia with a fine detail brush, adding bright yellow stamens at the center and a few loose tropical leaves in forest green to break up the pink.
A glossy top coat pulls it all together and makes the gradient look almost airbrushed.
2. Delicate Daisy French Tip Design


Daisy French tips take the classic white-tip look and add tiny hand-painted flowers right along the smile line, usually with five small white petals and a yellow dot center on each nail.
Your nail tech will extend the acrylic into a soft rounded or squoval shape first — daisies sit better on a flatter tip than on a sharp stiletto edge.
A sheer nude or baby pink base keeps the whole design feeling light, so the white petals actually stand out instead of blending into the tip.
Swap the yellow centers for a tiny rhinestone if you want a little extra catch of light without going full glitter.
3. Bold Sunflower Statement Accent Nail


Sunflowers hit different on acrylic nails because of their size — one large bloom fills an entire nail without looking cluttered.
Pick one nail, usually the ring finger, and have your tech paint a single oversized sunflower using golden yellow gel polish for the petals and a deep brown or black for the seed center. Keep the remaining nails a flat mustard yellow or clean white so the accent nail does all the talking.
Adding a thin black outline around each petal sharpens the design and gives it that bold, graphic quality you see everywhere in summer nail inspo right now.
4. Pastel Watercolor Rose Garden Look
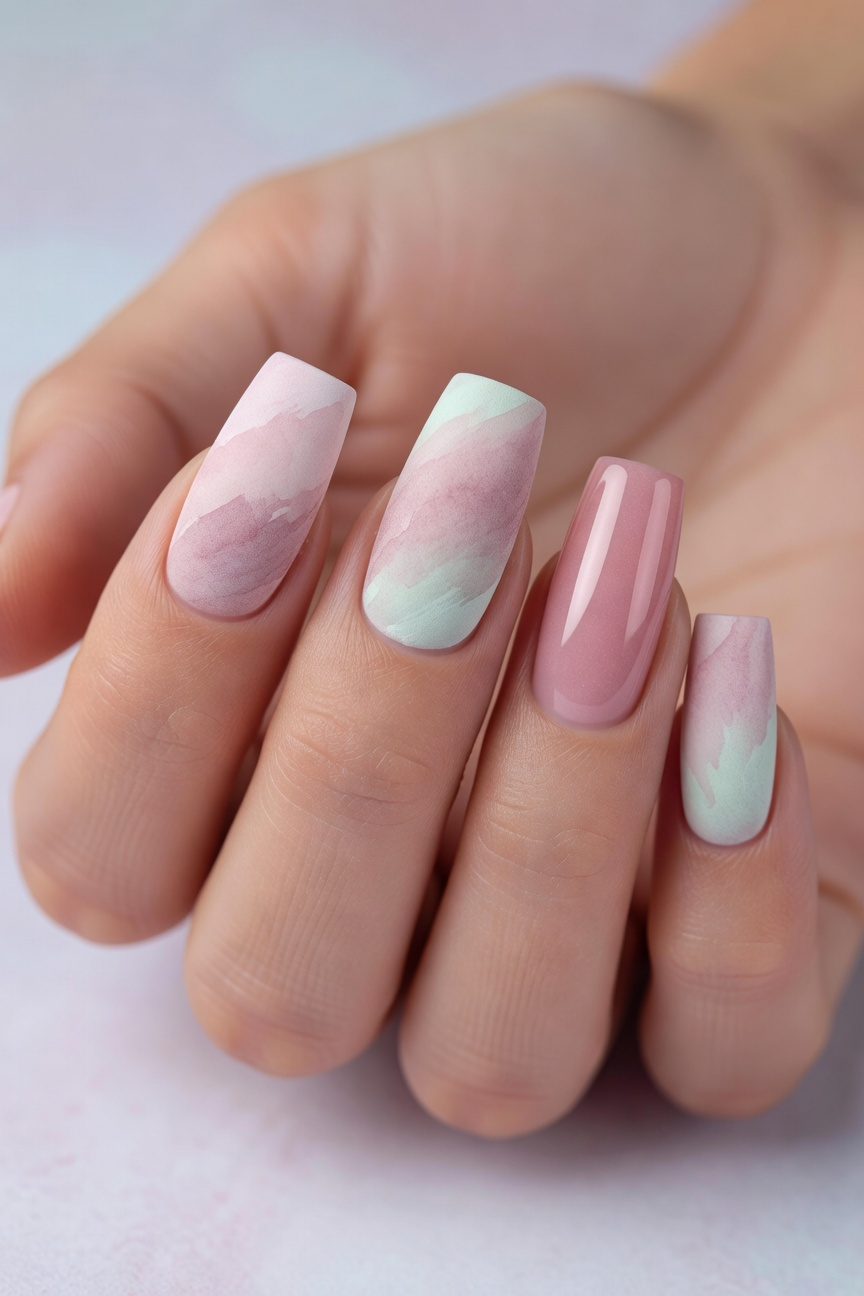


Soft blush, dusty mauve, and pale mint work together here to mimic the loose, bloomy look of a watercolor painting on your nails.
Your nail tech will use a thin, dry-brush technique with gel polish to layer colors without hard edges, letting each shade bleed slightly into the next.
Rose petals get painted freehand in loose, uneven strokes — not tight and botanical, but relaxed, like a sketch in a journal.
Finish with a matte top coat on most nails and a glossy coat on one or two accent nails to make the roses pop against the softer background.
5. Neon Wildflower Festival Ready Nails
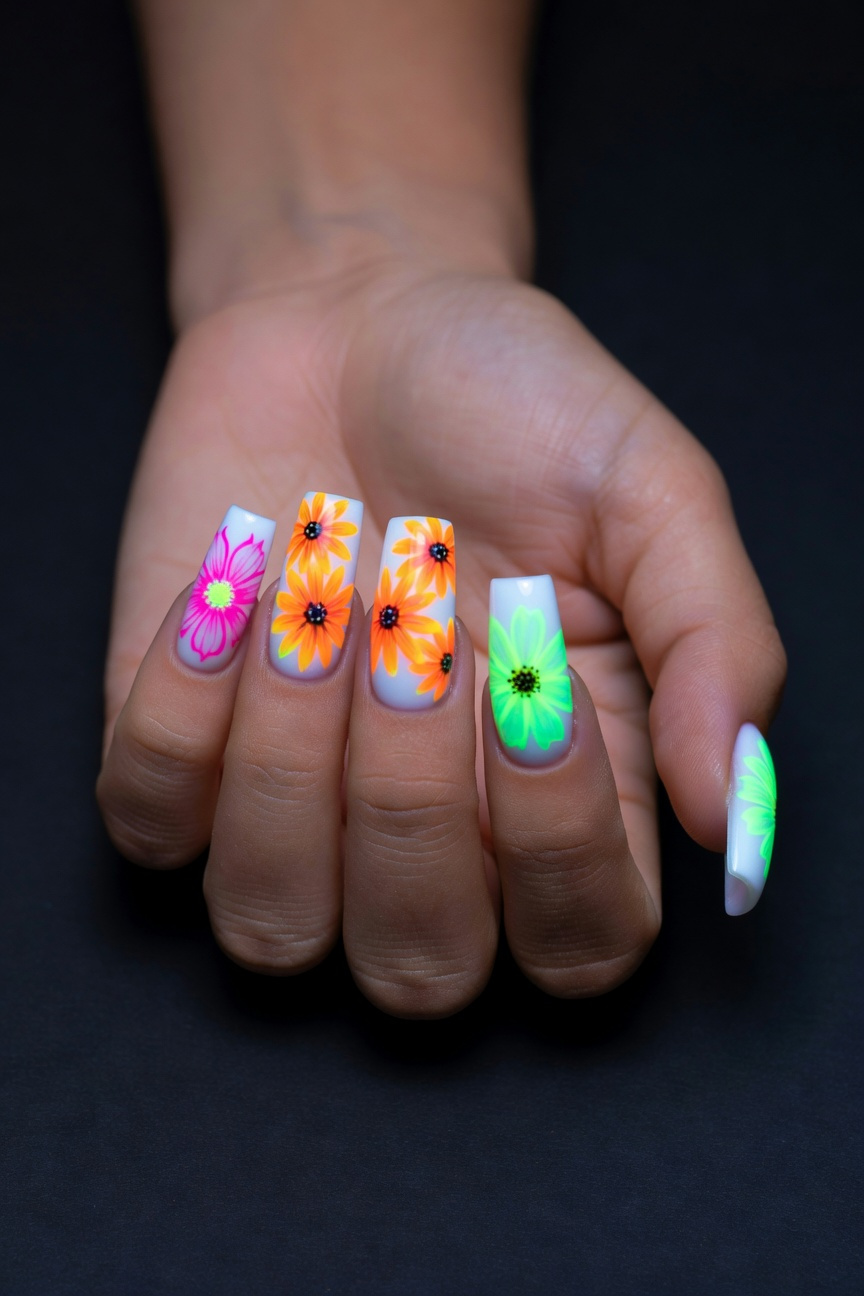


Neon wildflowers are basically made for festival season — think electric pink cosmos, lime green stems, and bright orange black-eyed Susans scattered across a white or black acrylic base.
Ask your nail tech to use neon gel polishes rather than regular acrylics for the floral details. They pop under UV light, which means they genuinely glow at outdoor concerts and night events.
Keep the background solid and simple so the neons do all the work. Crowding every nail with flowers kills the effect — try full florals on the ring fingers and a single stem or two on the others.
6. Lavender Sprig Minimalist Nail Art
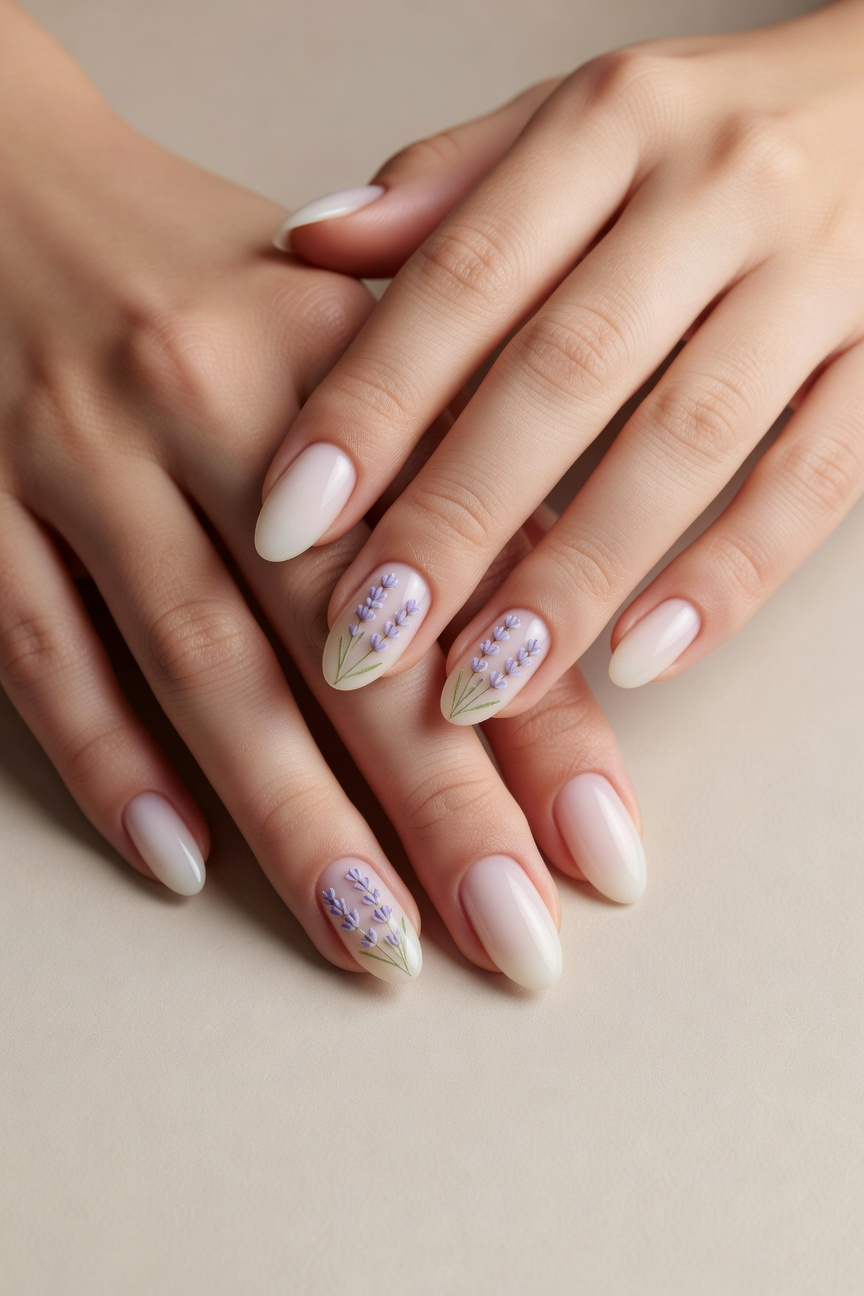


Lavender sprigs work so well on acrylics because the design stays intentionally simple — a few thin stems, tiny oval petals in muted purple, and a lot of bare nail showing through.
Use a fine nail art brush with pale lilac and dusty green gel polish to paint two or three small sprigs across one or two accent nails, leaving the rest in a clean sheer nude or soft white base.
The negative space does the heavy lifting here. Less detail actually makes the design read more clearly, especially on longer coffin or almond shapes.
7. Vintage Botanical Pressed Flower Effect
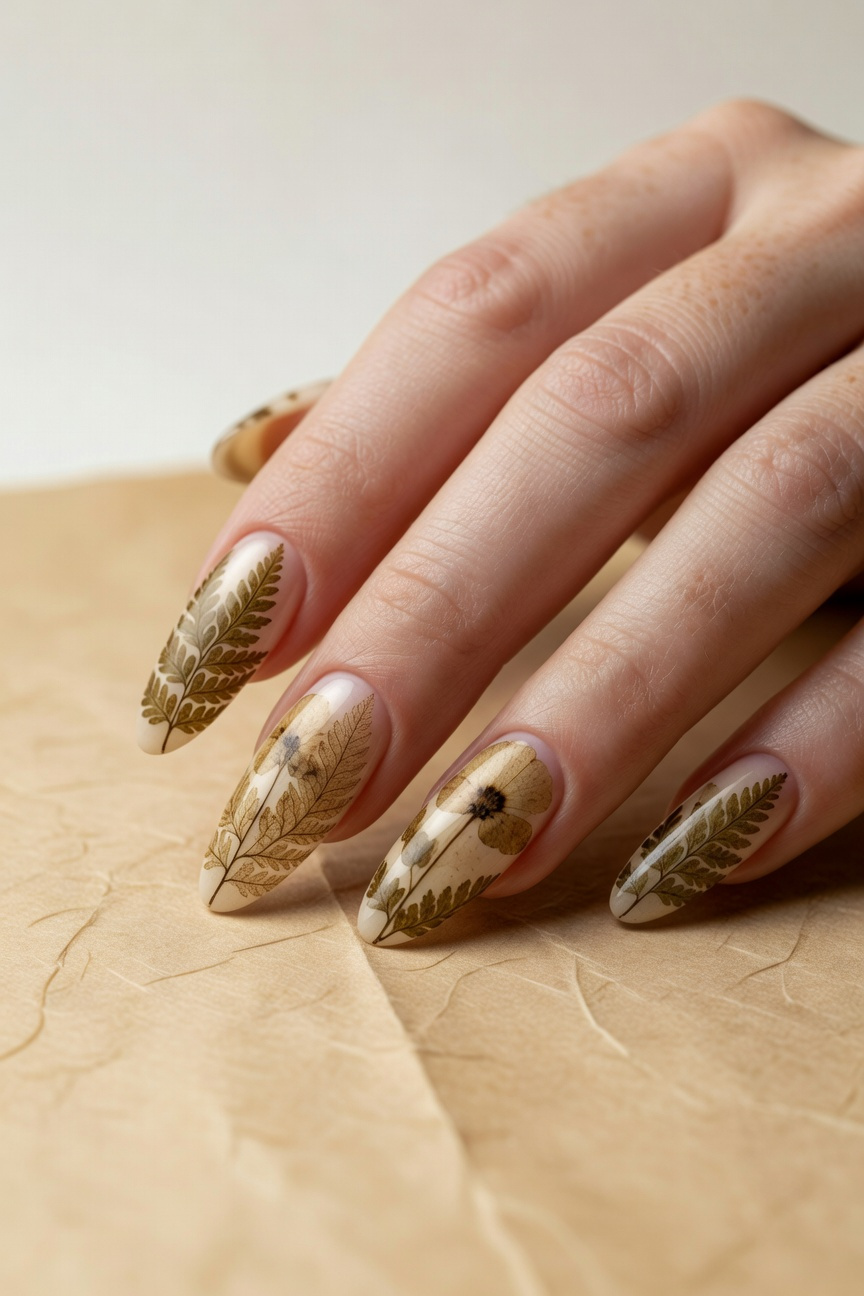

Pressed flower nails lean into that old apothecary illustration look — think sepia-toned ferns, tiny botanicals with visible vein detail, and a slightly aged cream or parchment base color.
Your nail tech builds the effect using fine liner brushes to hand-paint flattened flower shapes, then seals them under a matte top coat to mimic the dry, papery texture of an actual pressed specimen.
Brown and olive tones do the heavy lifting here. A touch of dusty mustard or faded burgundy on individual petals sells the vintage feel far better than anything bright or saturated.
8. Cherry Blossom Negative Space Design
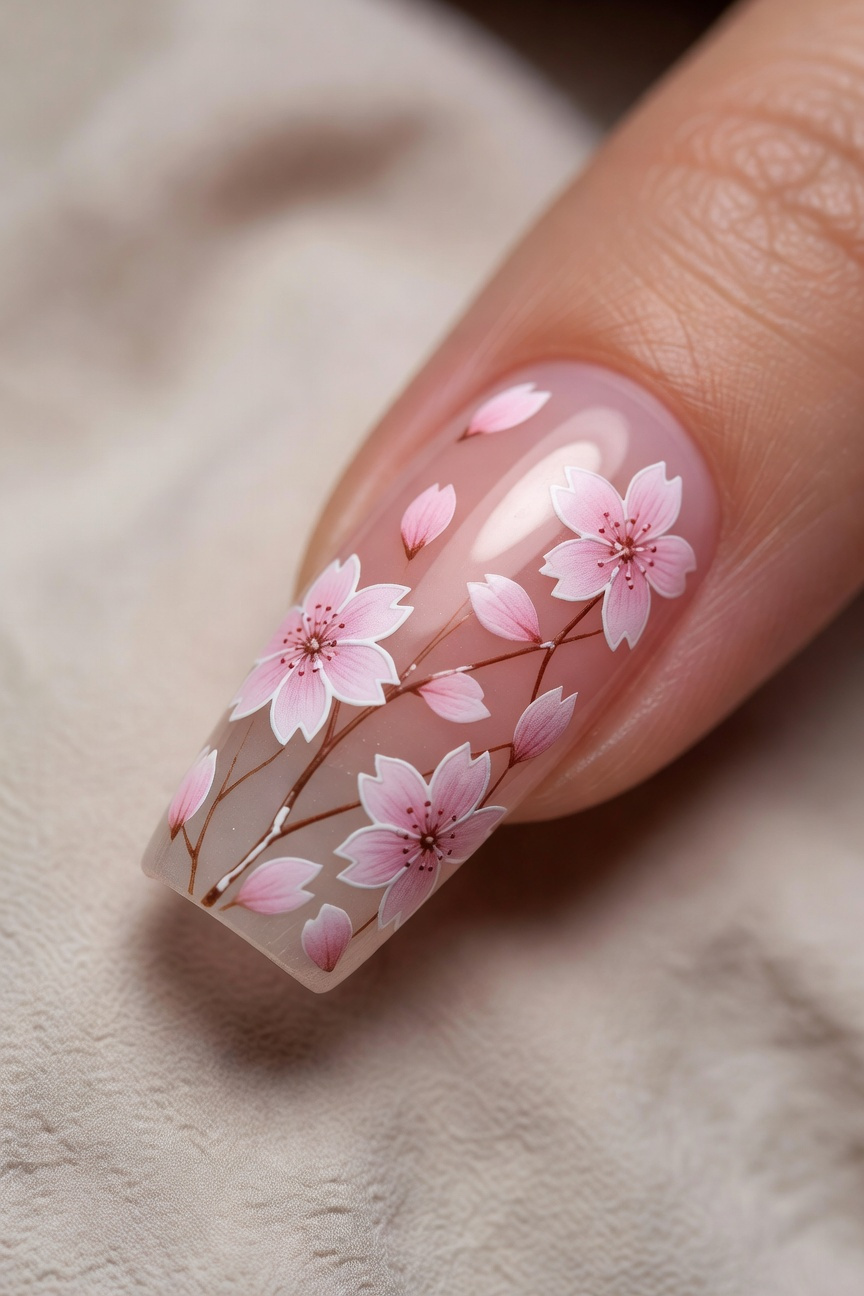


Cherry blossom designs lean into what acrylic nails do best — giving you a clean, hard canvas to work with. Your nail tech leaves sections of the natural-looking base completely bare, then clusters tiny pink five-petal blooms along one edge or corner of the nail.
The unpainted space does as much work as the art itself.
Use a fine detail brush with soft pink and a touch of white to build each blossom, adding a few brown or dusty rose branch strokes to anchor the flowers. A matte top coat over the whole nail keeps the negative space from looking unfinished and ties the whole thing together without adding shine that would compete with the delicate brushwork.
9. Glitter Peony Glam Summer Nails
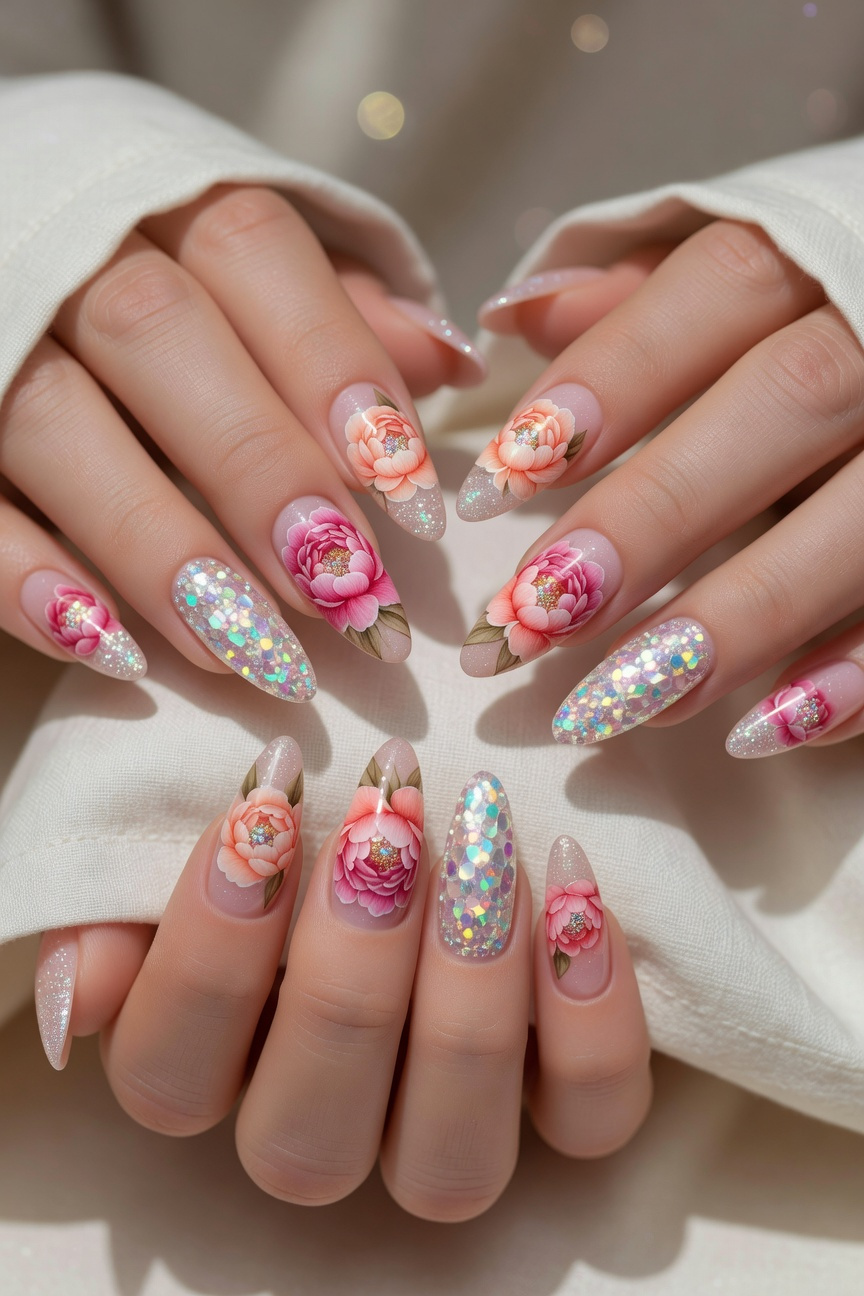


Peonies already feel luxurious on their own, but adding chunky glitter to the mix takes the whole look somewhere genuinely glamorous without trying too hard.
Start with a sheer pink or champagne base, then build the peony petals using a fine nail brush and gel paint in blush, coral, or deep rose. A dab of iridescent glitter gel pressed into the center of each bloom catches the light every time your hand moves.
Chunky holographic glitter on one or two accent nails keeps the design from feeling flat. Balance the rest of the set with a simple glitter-dusted tip rather than full florals on every finger.
10. Cottagecore Meadow Mixed Floral Set
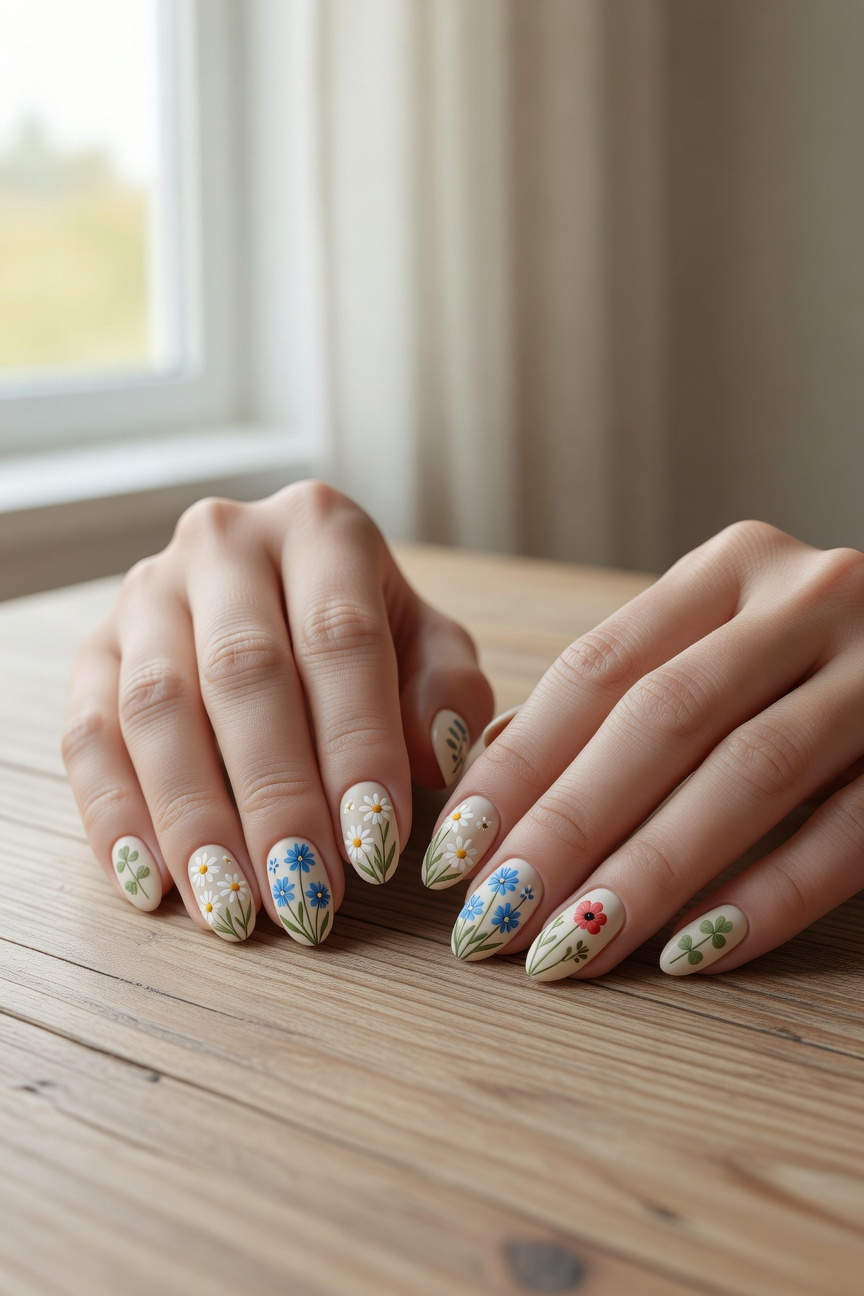


Meadow nails mix several small florals across all ten fingers — think tiny white daisies, loose cornflowers, little sprigs of clover, and the occasional poppy painted in soft red.
The key is keeping the background a warm cream or muted sage so the flowers read as hand-gathered rather than printed.
Ask your nail tech to vary the placement on each nail instead of repeating the same cluster — one nail might have a single stem, another gets a busier grouping, which makes the whole set feel natural and unplanned.
A matte topcoat pulls everything together and keeps the look grounded rather than polished and formal.